


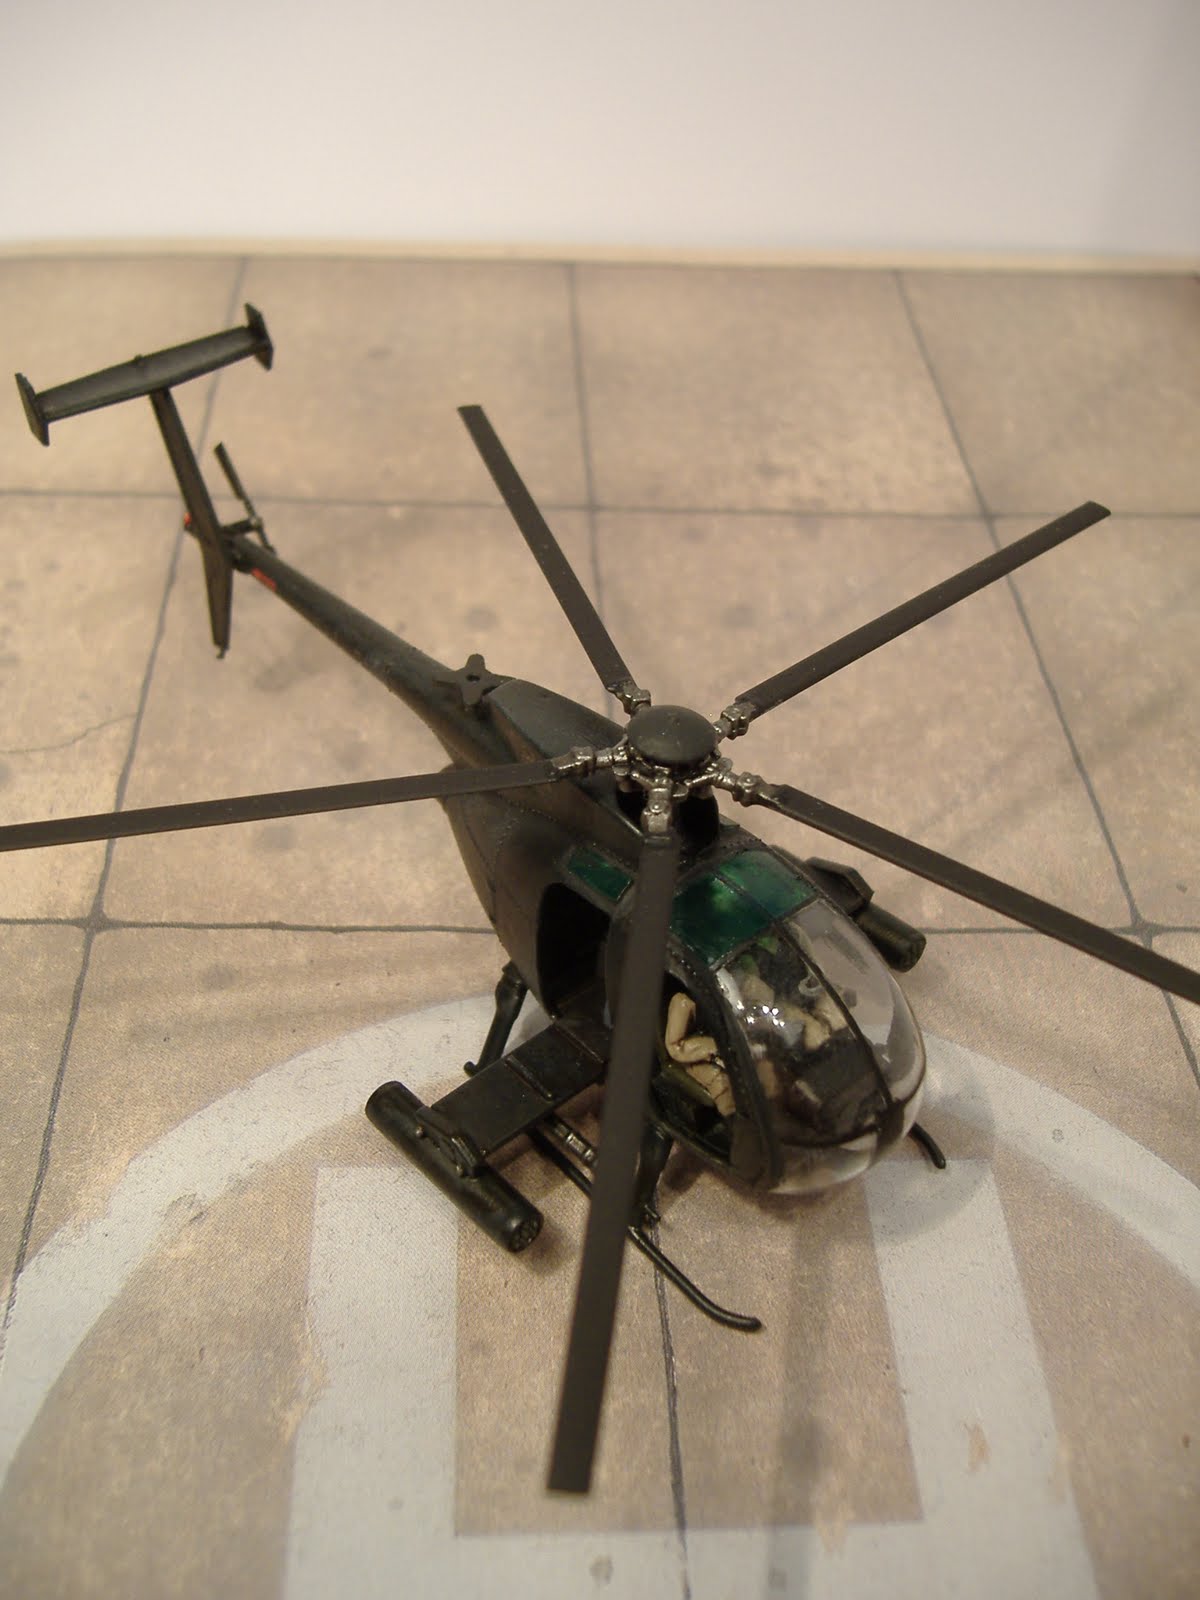


 shot from above - now I am off to apply decals!
 sensor turret details
 Stunning: all those nice rivets and panels of the access lids
 The panel lines now really stick out nicely.
 Even if those panel lines are very very narrow, they still "pop out" of the grey now.


 Both "Little Birds" on their flight stands. Not really completely finished, but it gives an impression of how its going to look like.
 The MH-6. The glass section of the canopy is a pain to fit. :-/
 The SHQ pilots. Normally for Vietnam - but I think they well look the part for 160th SOAR from Mogadischu all the way to Iraq 2003.
 The Business-End of an armed AH-6J "Little Bird". Ever since I was watching Black Hawk Down for the first time I adore those awesome little combat machines.
 7-shot Hydra pods and M134 Miniguns...
 Now I will need to put finishing touches to those models and start with the MH-60s.
 AH-6J
AH-6J MH-6
MH-6 Prime(r)-time.
 MH-6 with its typical benchs for the SOF guys to sit upon (crew is SHQ if I remember correctly, SOF guys are Caesar plastics - unsure if they will be added).
 MH-6 side shot, note the new tail and the FLIR turret as well as the added GPS antenna.
 MH-6 details: note the support struts on the bench (scratchbuilt) and the mounted (scratchbuilt) FRIES (=FastRope Insertion and Extraction System) over the rear doors.
 MH-6 front.
 The 160th Special Operations Aviation Regiment (Airborne) is a special operations unit of the United States Army that provides helicopter aviation support for general purpose forces and Special Operations Forces. Its missions have included attack, assault, and reconnaissance, and are usually conducted at night, at high speeds, low altitudes, and on short notice. The 160th SOAR is headquartered at Fort Campbell, Kentucky. The 160th SOAR (A) are also known as the Night Stalkers and their motto is "Night Stalkers Don't Quit".
 AH-6j with M134 Miniguns (7,62mm) and M260 Hydra pods (2.75" FFAR) with seven shots each.
 AH-6j side shots reveals details of the scratchbuilt weapons mount and the added details (new tail, FLIR, GPS antenna etc.)
 See the frontside of the armoured turret hull - the vertical weathering was done with the applicator stick.
  A close up of the weathering in various tones of pigment.
  Another shot of the frontside. I used "Sand", "Light Sand" and "Dust" to apply those faded lines.
  See the dust and pigments on the turret top? These were applied with the brush side of the applicator tool.
  I mixed all pigments that came in the sets from Tamiya and used the applicator tool's brush to "drybrush" (the technique is the same as with a acryl or enamel paint) dust and sand into all recesses. Note the duffel bags in the lower part of the pic - it shows traces of multiple tones of pigment.
  With the pen-side of the applicator I brushed carefully over all weld seams. I also applied dust to where the crew would most likely have went over on the top of the turrets.
  The barrel of "Columbia 2", 2nd platoon, Charly Company, Task Force 1-64
  The barrel of "Carnitore", 2nd platoon, Charly Company, Task Force 1-64
  Multiple pigments were mixed and applied heavily over the complete stowage, just as it would have been in a sand storm.
  The strong amounts of powder in-between the items in the stowage bins creates a very realistic look.